In Vineland, NJ, basement leaks usually stem from poor grading and drainage, clogged or misrouted gutters/downspouts, hydrostatic pressure from high water tables, cracked foundations, failing sump pumps, defective window wells, and leaky interior plumbing. Grade soil 5–10% away for 10 feet, extend downspouts 6–10 feet, add French drains, and service gutters. Use epoxy/polyurethane crack repairs, size pumps correctly with backups, and seal/vent sumps. Insulate cold pipes and audit seals annually. Next, you’ll see precise fixes and maintenance intervals.
Key Takeaways
- Poor grading and drainage direct water toward foundations; Vineland’s silty soils increase hydrostatic pressure without a 5–10% slope away from the house.
- Clogged or misrouted gutters and short downspouts dump roof runoff at the foundation; extend downspouts 6–10 feet.
- High water tables create hydrostatic pressure, causing cove-joint seepage, slab weeping, and bowed walls without proper drains and sump pumps.
- Foundation cracks and failed sealants let water in; use epoxy for structural cracks and polyurethane for active leaks.
- Window well design/maintenance issues funnel water to walls; maintain covers, clear debris, and ensure drains tie to footing tile.
Poor Surface Grading and Drainage Around the Foundation
Two common culprits—negative surface grading and inadequate drainage—drive water toward your foundation instead of away from it.
Negative grading and poor drainage pull water toward your foundation, inviting pressure, erosion, and leaks.
In Vineland’s silty soils, even a 1–2% back-pitch funnels runoff to wall-footing joints, amplifying hydrostatic pressure and surface erosion. You can verify grade with a 4-ft level or laser: target a 5–10% slope for the first 10 feet.
Replace organic topsoil with compacted clayey fill, then cap with turf or dense gravel fines to resist washout.
Implement drainage solutions that don’t rely on roof conveyance: perimeter swales cut to 0.5–1% fall, solid conveyance piping to daylight, and French drains set below finish grade with non-woven fabric, washed stone, and perforated SDR-35.
Add splash aprons at hose bib zones. Seal utility penetrations, and re-compact along settled backfill seams.
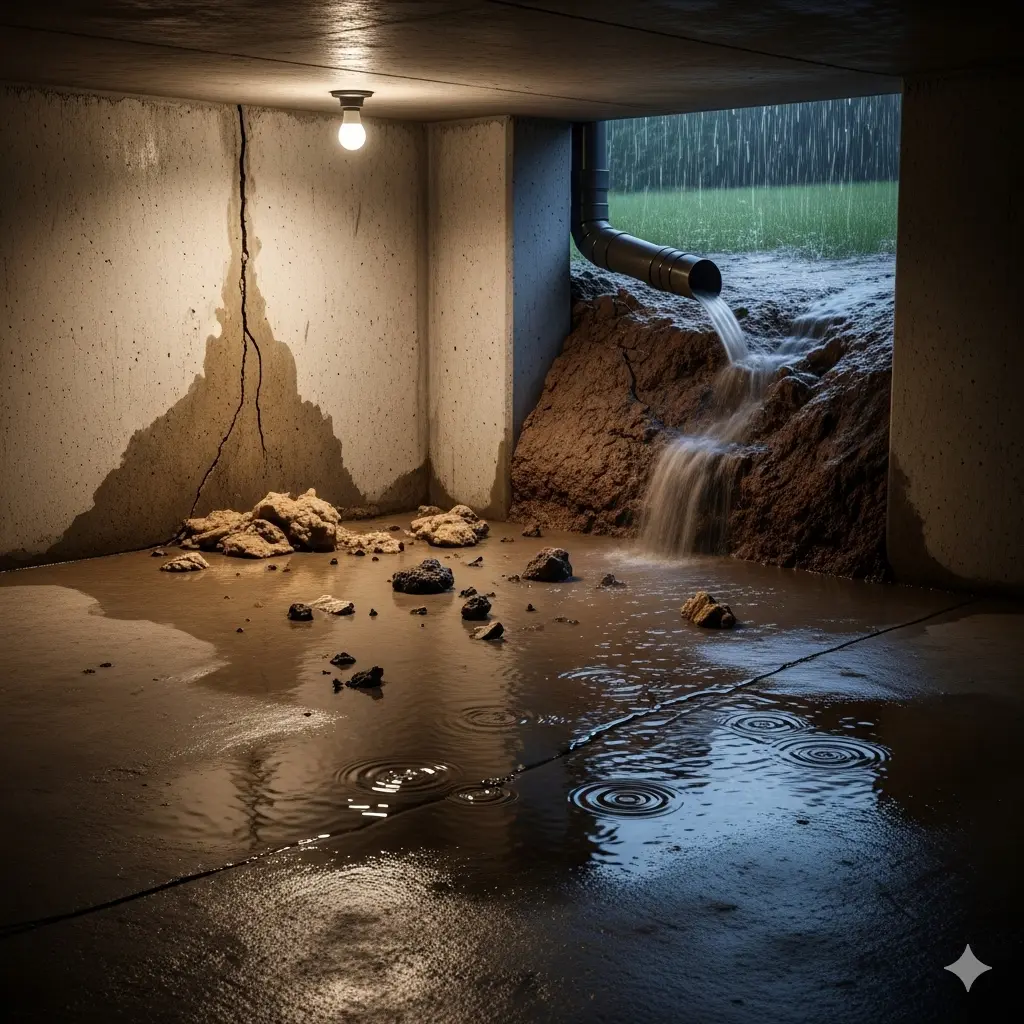
Clogged or Misrouted Gutters and Downspouts
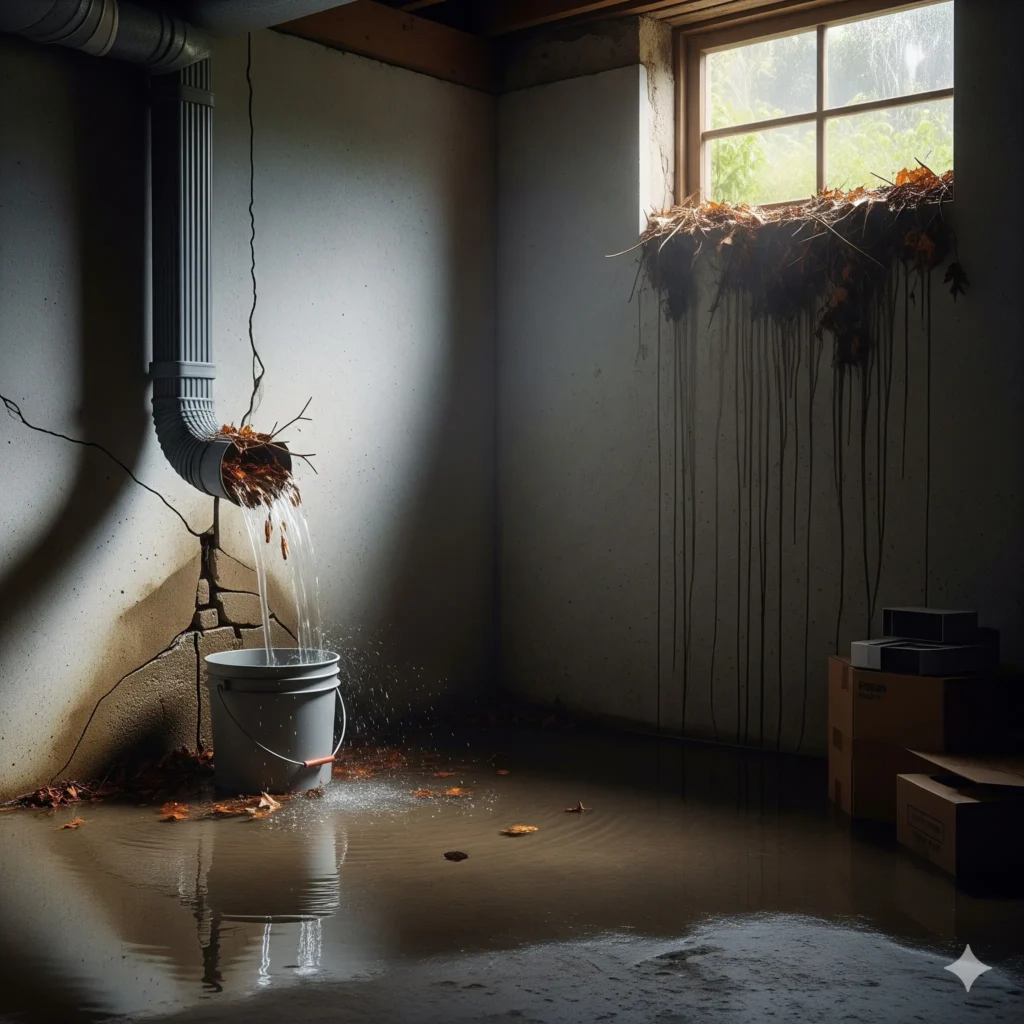
Surface grading fixes won’t help if your roof drainage dumps water at the foundation. If gutters clog, roof runoff sheets over the edge and concentrates at the footing, driving seepage through cracks and joints.
Prioritize gutter maintenance: clean twice yearly, reseal leaking seams, and slope gutters 1/16–1/8 inch per foot toward outlets. Verify outlet sizing and add extra downspouts if the contributing roof area exceeds capacity.
Correct downspout installation is critical. Terminate at least 6–10 feet from the foundation using solid extensions or buried SDR-35/PVC to daylight, not perforated pipe. Use splash blocks only as a temporary measure.
Eliminate reverse-slope grade at discharge points. Add leaf guards where trees shed heavily, but don’t skip cleaning. Inspect during rain; if you see overflow or ponding, reconfigure.
Hydrostatic Pressure From High Water Tables
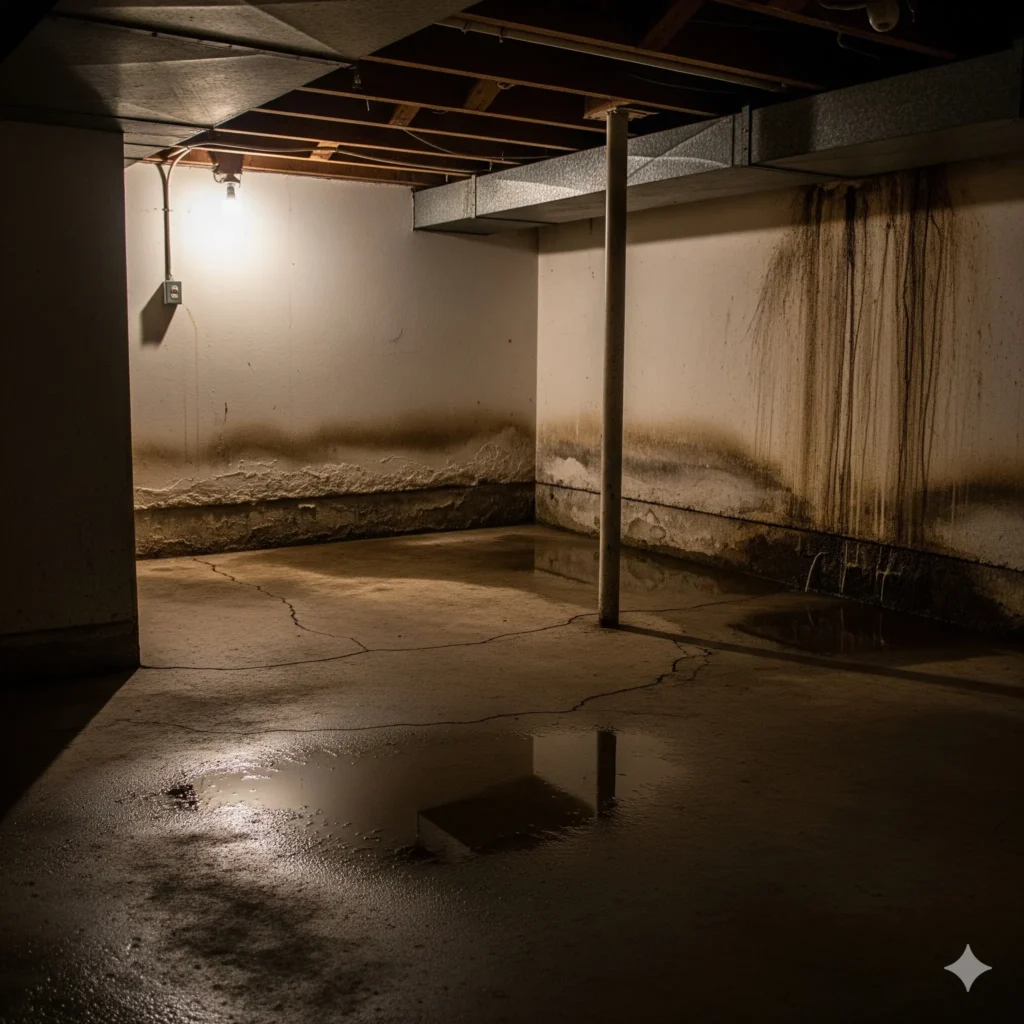
You’re likely facing hydrostatic pressure when groundwater rises and exerts lateral and uplift force against your foundation, pushing moisture through joints, cracks, and slab pores.
Watch for warning signals like persistent cove-joint seepage, floor slab weeping, efflorescence bands, seasonal sump cycling spikes, and buoyant floor tiles.
To mitigate, implement exterior/interior drains, add a properly sized sump with check valve and battery backup, relieve wall/slab pressure with weep paths, and manage site grading and downspout discharge to keep the water table lower around the footing.
What Hydrostatic Pressure Does
When a high water table saturates the soil around your foundation, hydrostatic pressure builds and acts perpendicular to basement walls and slabs, seeking the path of least resistance. That force loads masonry like a constant fluid wedge, exploiting hairline cracks, cold joints, and utility penetrations.
As gradients rise, the pressure differential drives water through capillaries and porous concrete, eroding fines and undermining foundation stability. Left unmanaged, it bows walls, lifts slabs, and overloads seals, gaskets, and cove joints.
- It increases lateral earth pressure, compounding structural loads beyond design assumptions.
- It elevates uplift forces beneath slabs, risking heave and joint separation.
- It accelerates seepage paths, enlarging micro-fissures into leak conduits.
Mitigate by relieving hydrostatic pressure: exterior drainage, footing drains, sump discharge optimization, and impermeable barriers.
Signs of Rising Water
That same hydraulic loading that pushes on walls also telegraphs early warning signs inside and around the basement.
You’ll see damp cove joints where the slab meets the wall, a classic indicator of rising water seeking the path of least resistance.
Hairline cracks that darken after rain, efflorescence bands at consistent elevations, and blistering paint suggest episodic water intrusion tracking the water table.
Monitor sump pits: a frequently cycling pump or unexpectedly high static level flags increased subgrade pressure.
Check utility penetrations for moisture halos, rusting sill plates, and swollen bottom plates.
Musty odor plus elevated humidity (>60% RH) implies persistent vapor drive.
Use a flashlight to spot fine sediment lines on the slab—“tide marks” mapping hydrostatic peaks.
Document timestamps, rainfall totals, and recurrence intervals.
Mitigation and Drainage
Two objectives drive mitigation under hydrostatic load: relieve pressure and control pathways.
You’ll stabilize the slab-wall interface by giving water a controlled exit and blocking capillary entry. Start with perimeter drainage solutions: install an interior French drain at the footing, pitched to a sealed, battery-backed sump.
Add cleanouts for maintenance and backflow protection on the discharge. Next, apply continuous water barriers: negative-side crystalline coatings on walls, elastomeric sealants at cove joints, and vapor-retarding underlayment if you’re finishing.
- Interior French drain + airtight sump lid + check valve
- Exterior footing drains with filter fabric and washed stone
- Bentonite or elastomeric membranes as water barriers
Validate performance with hydrotests after heavy rain. Maintain gutters, grading, and downspout extensions to reduce source loading.
Document everything for future inspections.
Cracked or Deteriorating Foundation Walls and Floors
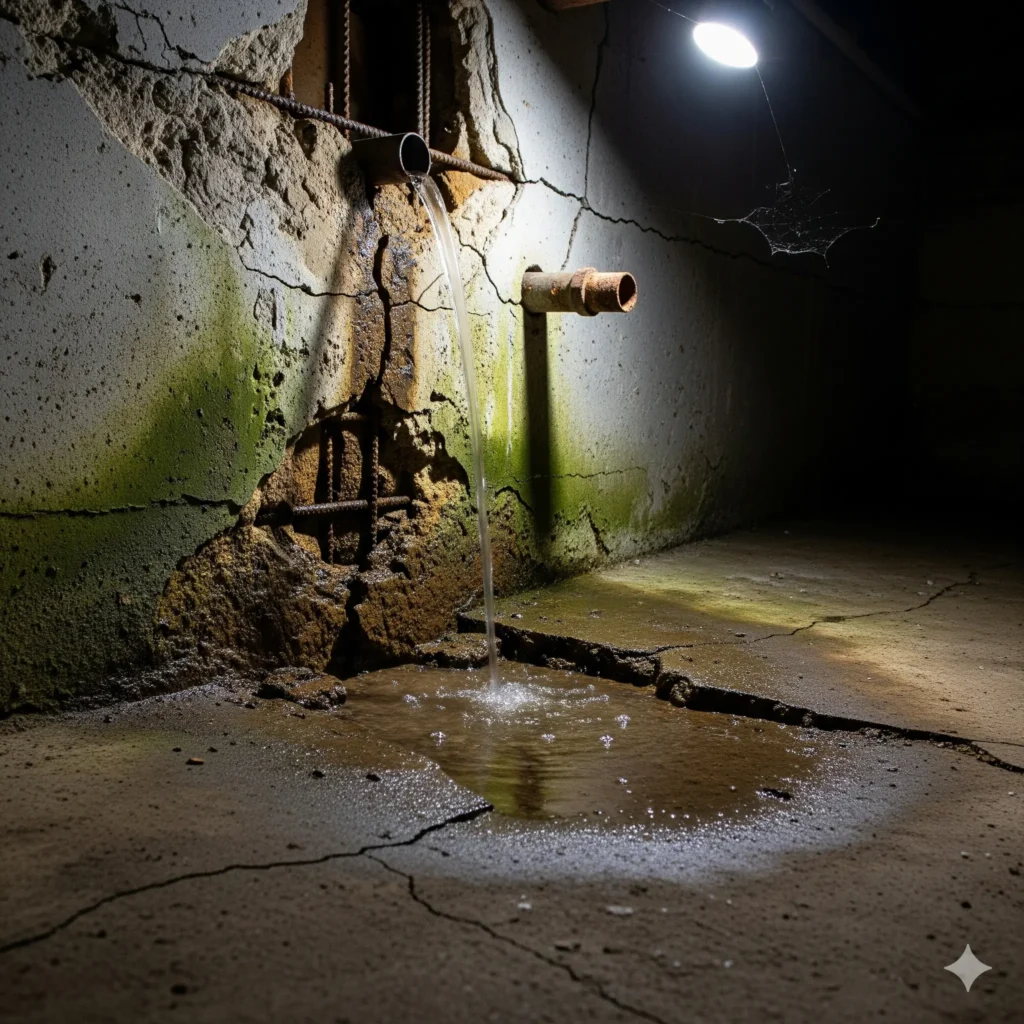
Although hairline cracks might look cosmetic, fractures and spalling in foundation walls or slabs create direct water pathways under hydrostatic pressure. In Vineland’s clay-rich soils, moisture cycles expand and contract, prying joints open. You’ll see efflorescence, damp corners, or slab heave. Run a foundation inspection to map crack width, displacement, and moisture readings; then prioritize wall repairs using epoxy injection for structural cracks and polyurethane for active leaks. Repoint mortar, grind delaminated areas, and apply negative-side crystalline coatings where appropriate.
| Symptom | Likely Cause | Targeted Fix |
|---|---|---|
| Efflorescence | Capillary transport | Surface seal + drainage plane |
| Step cracks | Differential settlement | Epoxy + stitch staples |
| Horizontal crack | Lateral soil load | Carbon fiber straps |
| Spalling | Freeze-thaw/salts | Patch + breathable coating |
| Slab curl | Moisture gradient | Saw-cut relief + sealant |
Failing or Inadequate Sump Pump Systems
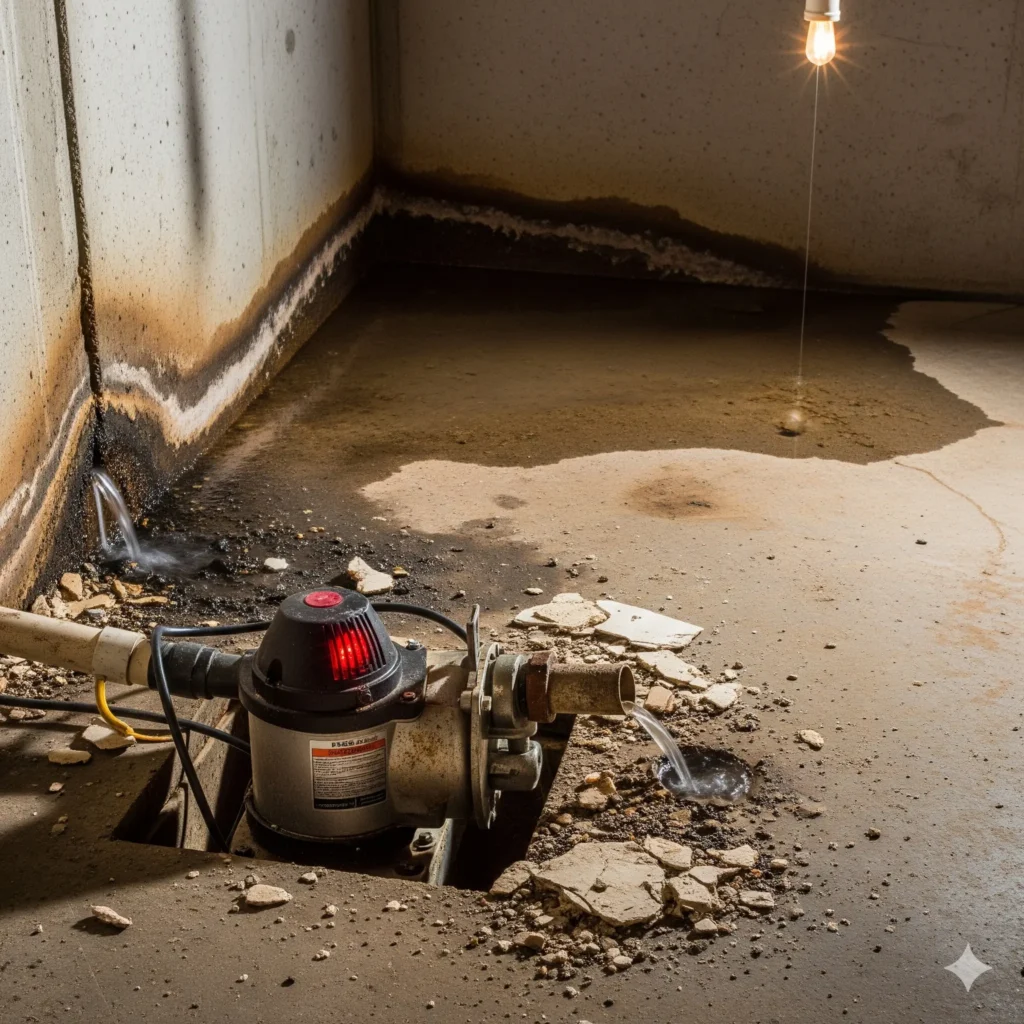
When your sump pump undersizes the inflow rate, loses power, or stalls from debris, hydrostatic pressure quickly overwhelms the basin and pushes water through joints and cracks.
Hydrostatic pressure surges past a stalled or undersized pump, forcing water through cracks and joints.
In Vineland’s clay-rich soils, storm surges can exceed a single-stage pump’s head and GPM. If the float switch fails or the discharge line freezes, water backfeeds and elevates risk. You need a right-sized system, dedicated circuit, and tested backups.
- Install a properly sized primary pump (e.g., 1/2–3/4 HP, high head), plus a battery or water-powered backup.
- Perform sump pump maintenance: test quarterly, clean intake screen, exercise check valve, and flush discharge to daylight.
- During sump pump installation, use a sealed, vented basin, union fittings, 1-1/2″ PVC, a quiet check valve, and an exterior air-gap.
Defective Window Wells and Basement Windows
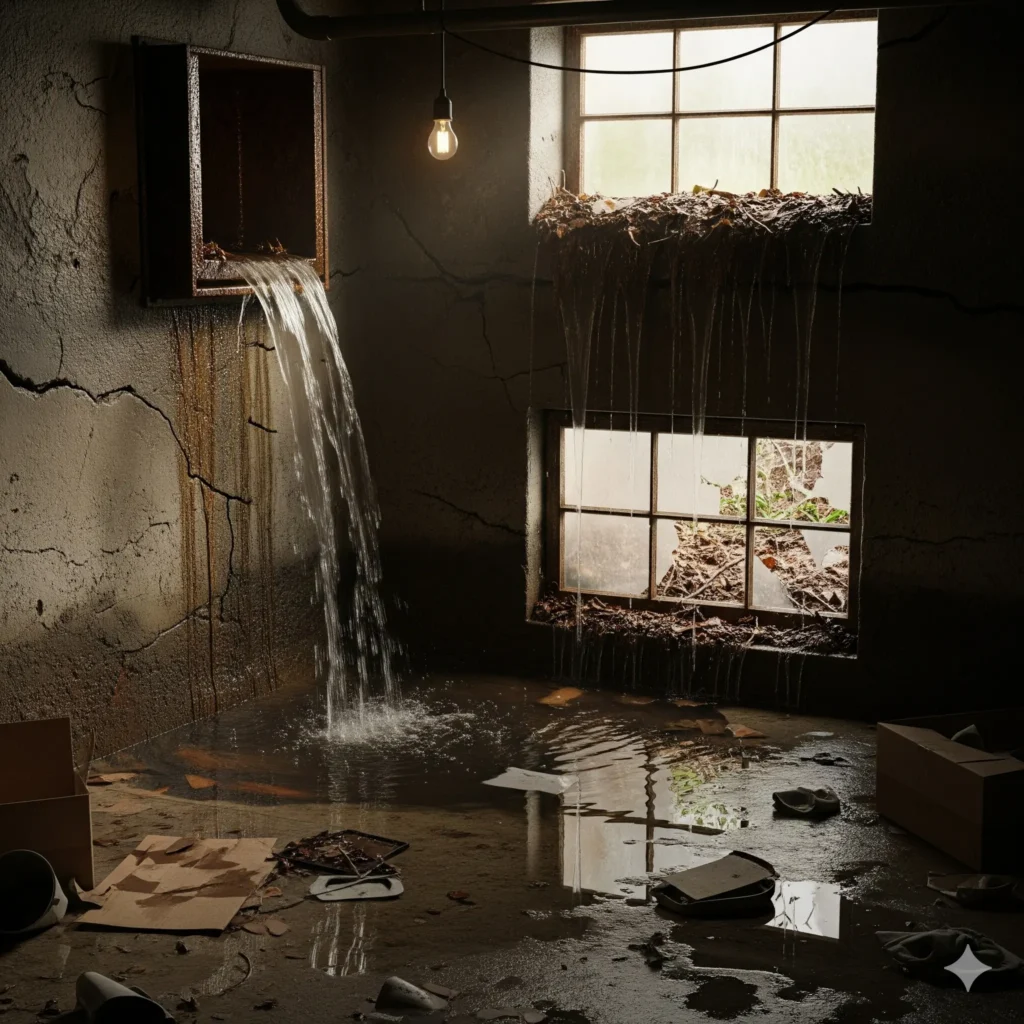
You often see leaks start at the window well: poor drainage lets water pool and overload the wall interface.
Inspect the well for clogged drains, missing gravel, and improper grading; then test flow with a controlled hose run to confirm pathing.
Next, check basement window perimeters for cracked or failing seals and re-seal with a compatible elastomeric or butyl product after cleaning and priming the substrate.
Poor Window Well Drainage
Even minor flaws in window well design or maintenance can route water straight to your foundation wall. When wells lack adequate gravel, clogged drains, or proper grading, hydrostatic pressure builds and forces water against the window frame and into the wall cavity.
Prioritize window well maintenance: keep covers intact, clear debris, and verify that the drain tile ties into a functioning perimeter system. If there’s no drain, add one and backfill with washed stone for rapid percolation. Evaluate downspout discharge and soil slope so runoff can’t overwhelm the well.
- Install clear, load‑rated covers and 12–18 inches of washed gravel beneath the window.
- Add a vertical drain pipe with filter sock to the footing drain.
- Regrade soil away from the well; extend downspouts 6–10 feet as drainage solutions.
Cracked or Failing Seals
Cracked sealant joints and warped window frames create direct infiltration paths at the well-to-foundation interface and the sash-to-buck perimeter, letting water bypass capillary breaks and gaskets.
In Vineland’s freeze-thaw cycles, elastomeric sealants lose elasticity, and UV exposure embrittles gaskets. Once gaps open, hydrostatic pressure drives water into the assembly, wetting sills and interior finishes.
You should audit seals annually.
Perform seal maintenance: clean substrates, backer-rod size per joint width, and apply ASTM C920-compliant sealant with proper tooling and cure time.
Inspect window wells for separation from the wall and compromised flashing. If movement exceeds joint capability, prioritize seal replacement: remove failed compounds, prime masonry, reseal, and upgrade to PVC or fiberglass frames with integral weeps.
Verify slope, add well covers, and test with controlled hose flooding.
Leaky Plumbing Lines and Interior Water Sources
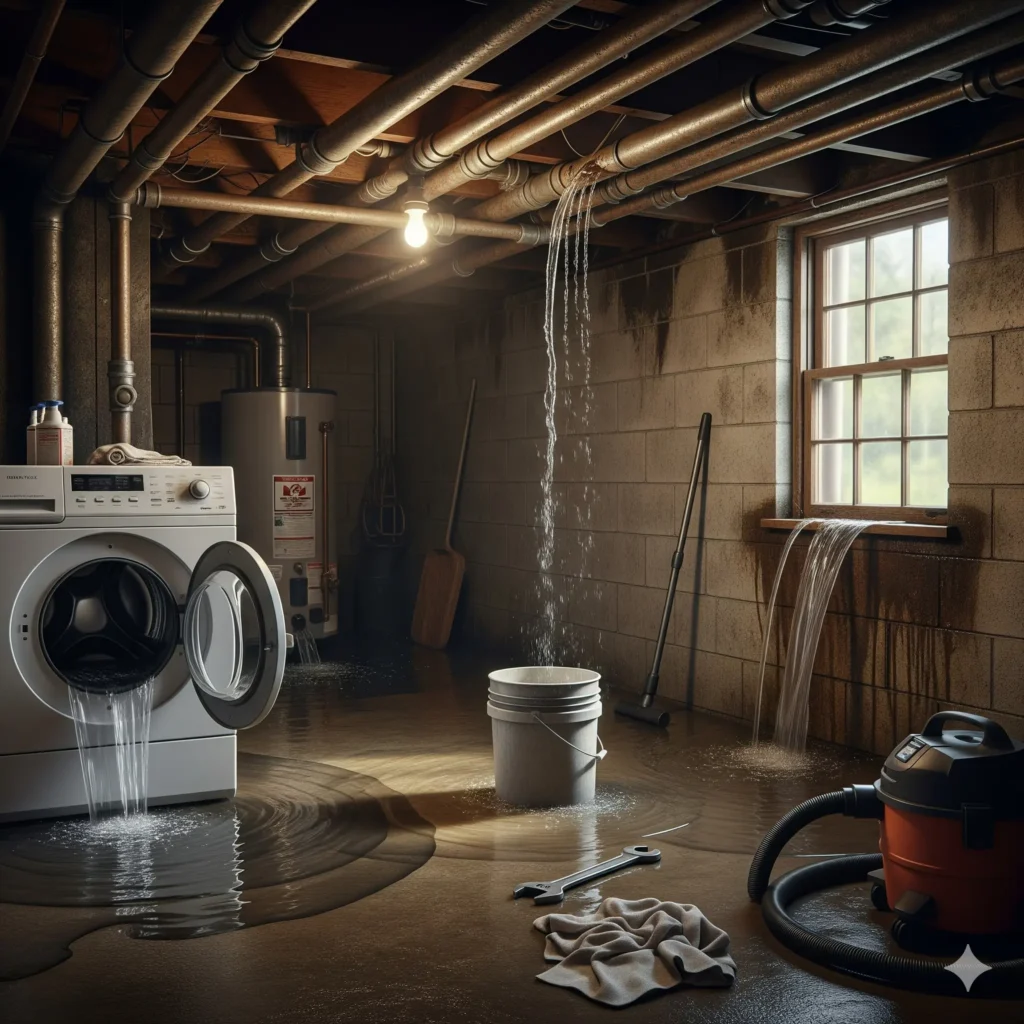
While exterior drainage often gets the blame, interior sources—leaky supply lines, sweating cold-water pipes, failing water heaters, clogged condensate drains, and overflowing fixtures—regularly trigger basement moisture.
You can trace pipe leaks with dry-to-wet progression checks, shutoff isolation, and inline pressure tests. Condensation drives moisture buildup when uninsulated lines meet humid air; add closed-cell pipe insulation and maintain 45–50% RH with a smart dehumidifier.
Flush water heaters, replace corroded nipples, and install a pan with a drain or leak sensor.
- Inspect and log: timestamp drips, PSI readings, and meter deltas to pinpoint loss.
- Upgrade safeguards: leak detectors, automatic shutoff valves, and pan drains.
- Maintain HVAC: clear condensate traps, slope lines 1/8 in/ft, and add float switches.
Act early to prevent mold, rot, and structural damage.
Conclusion
Funny coincidence: if you’re reading this after a heavy Vineland downpour, you’ve likely spotted one or more of these seven culprits. You can fix them methodically—regrade soil, extend downspouts, relieve hydrostatic pressure, seal cracks, test the sump, upgrade window wells, and inspect plumbing. Create a maintenance schedule, run quarterly checks, and document with photos. If seepage persists, call a pro for dye tests or drain tile evaluation. Act now, before moisture becomes mold—or structural load.